Hyundai Palisade (LX2): Rear Suspension System / Rear Coil Spring
Repair procedures
| Removal |
| 1. |
Loosen the wheel nuts slightly.
Raise the vehicle, and make sure it is securely supported.
|
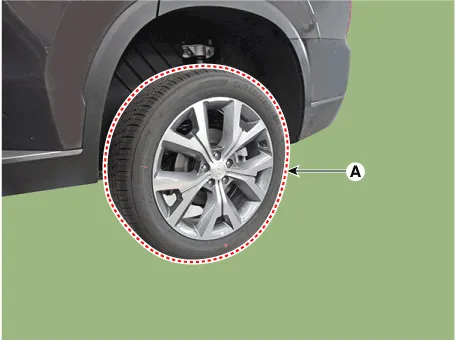
| 2. |
Remove the rear wheel and tire (A) from rear hub.
|

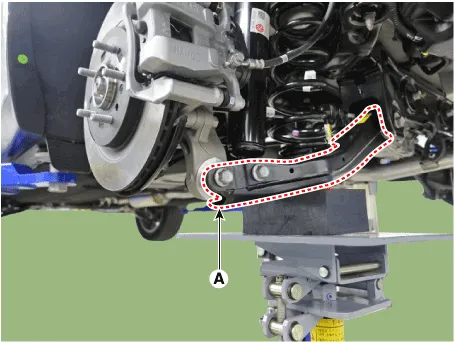
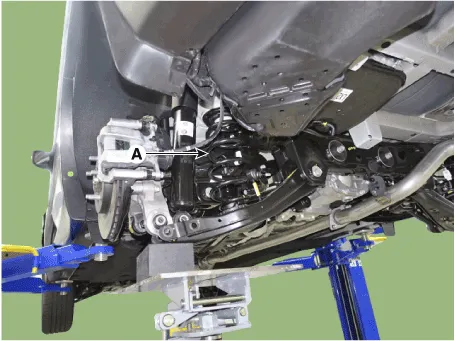
| 3. |
Loosen the bolt & nut and then remove the rear lower arm (A) from the
rear axle.
|

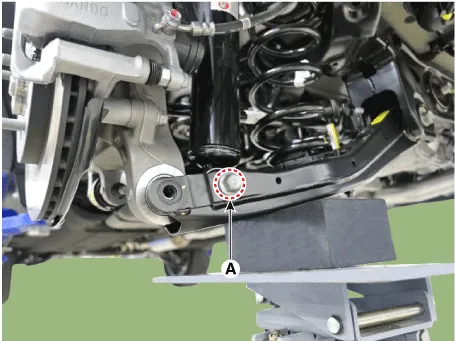
| 4. |
Loosen the bolt & nut (A) and then disconnect the rear shock absorber
from the lower arm.
|
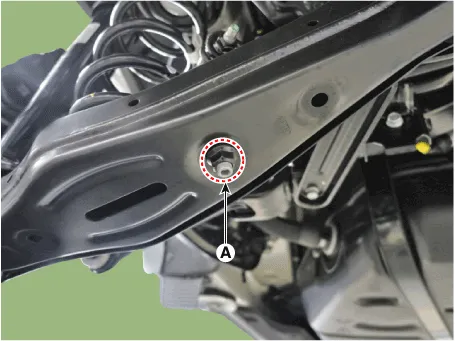
| 5. |
Loosen the nut (A) and then disconnect the stabilizer bar link from
the lower arm.
|
| 6. |
Remove the coil spring (A).
|
| Inspection |
| 1. |
Check the spring for distortion, aging or damage.
|
| 2. |
Check the spring upper pad and lower pad for aging or damage.
|
| Installation |
| 1. |
Install in the reverse order of removal.
|
| 2. |
Check the alignment.
(Refer to Suspension System - "Alingment")
|
Repair procedures Removal 1. Loosen the wheel nuts slightly. Raise the vehicle, and make sure it is securely supported.
Repair procedures Removal 1. Loosen the wheel nuts slightly. Raise the vehicle, and make sure it is securely supported.
Other information:
Hyundai Palisade (LX2) 2020-2026 Service Manual: Auto Defogging Actuator
Description and operation Description The auto defogging sensor is installed on the front window glass. The sensor judges and sends signal if moisture occurs to blow out wind for defogging. The air conditioner control module receives a signal from the sensor and restrains moisture and eliminates defog by the intake actuato
Hyundai Palisade (LX2) 2020-2026 Service Manual: Repair procedures
Inspection 1. Turn the ignition switch ON. 2. Manually operate the control switch and measure the voltage of the blower motor. 3. Select the control switch to raise the voltage until it reaches high speed.
Categories
- Manuals Home
- Hyundai Palisade Owners Manual
- Hyundai Palisade Service Manual
- Emergency liftgate safety release
- Power Outlet
- Automatic Transaxle System (A8LF1)
- New on site
- Most important about car
