
Hyundai Palisade (LX2): Front Radar System / Smart Cruise Control (SCC) Switch
Components and components location
| Components |
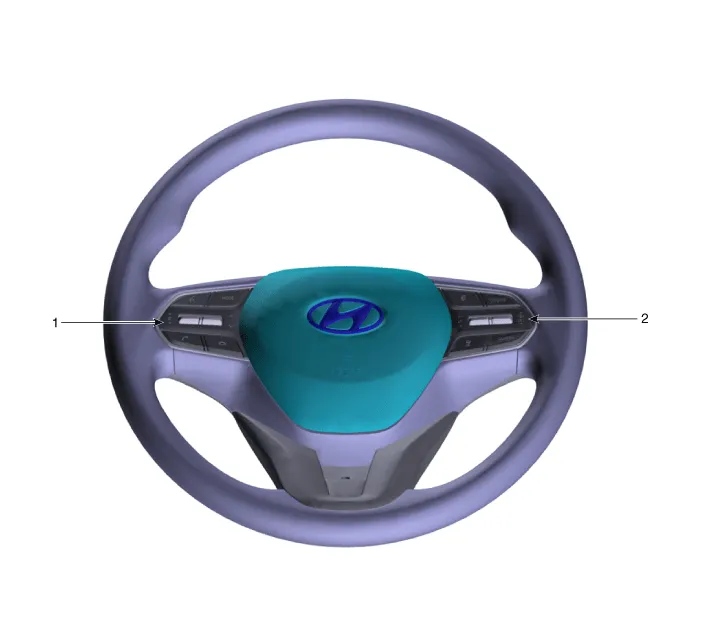
| 1. Remote control switch (Audio
swtich) |
2. Remote control switch (Cruise
control switch) |
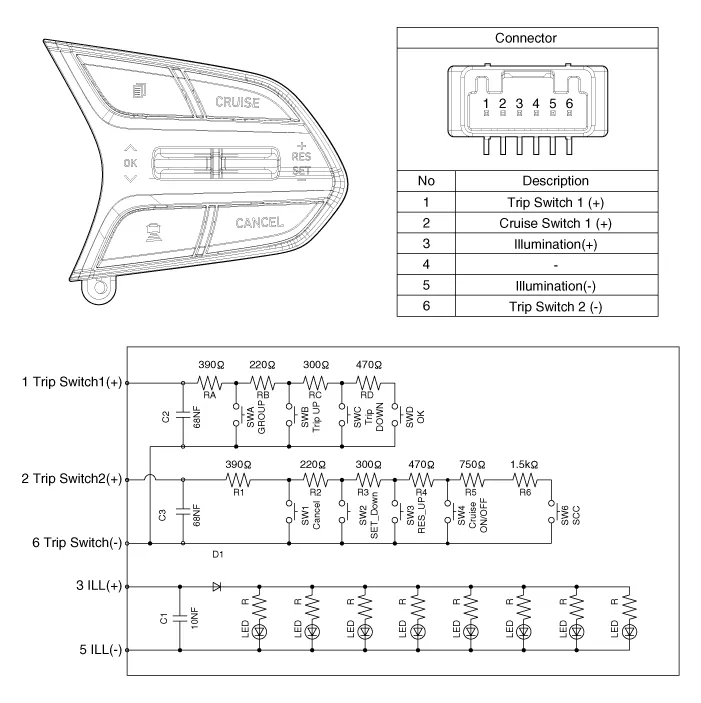
Schematic diagrams
| Circuit Diagram |
Repair procedures
| Removal |
| 1. |
Disconnect the negative (-) battery terminal.
|
| 2. |
Remove the driver airbag module.
(Refer to Restraint - "Driver Airbag (DAB) Module and Clock Spring")
|
| 3. |
Remove the steering wheel.
(Refer to Steering System - "Steering Column and Shaft")
|
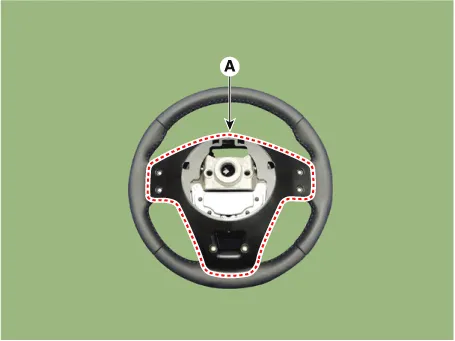
| 4. |
Remove the steering back cover (A) after loosening the screws.
|
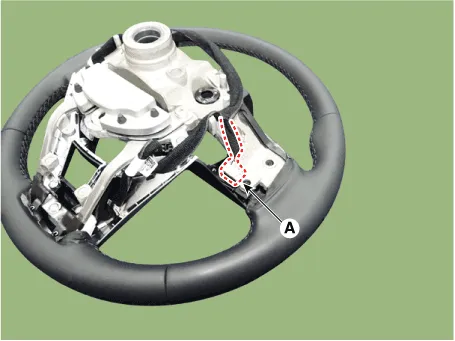
| 5. |
Disconnect the remote control switch connector (A).
|
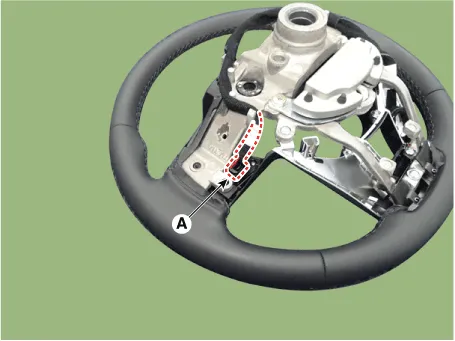
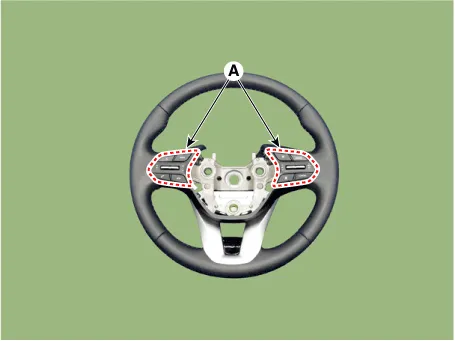
| 6. |
Remove the remote control switchs (A) after loosening the screws.
|
| Installation |
| 1. |
Install in the reverse order of removal.
|
| Inspection |
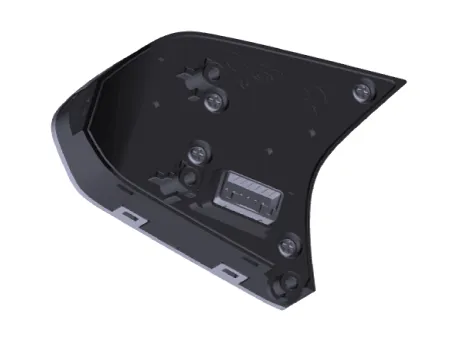
| 1. |
Disconnect the cruise control switch connector from the control switch.
|
| 2. |
Measure resistance between terminals on the control switch when each
function switch is ON. (switch is depressed)
|
Specifications Specification Item Specification Power supply (V) 12 Operation voltage (V) 9 - 16 Description and operation Description The smart cruise control unit is installed on the front right-hand side of the chassis.
Other information:
Hyundai Palisade (LX2) 2020-2026 Service Manual: In-car Sensor
Description and operation Description The In-car air temperature sensor is built in the heater & A/C control unit. The sensor consists of a thermistor that measures the inside temperature. The signal decided by the resistance value that changes in accordance with perceived inside temperature, is delivered to heater co
Hyundai Palisade (LX2) 2020-2026 Service Manual: Photo Sensor
Description and operation Description The photo sensor is located at the center of the defrost nozzles. The photo sensor contains a photovoltaic (sensitive to sunlight) diode. The solar radiation received by its light receiving portion, generates an electromotive force in proportion to the amount of radiation received wh
Categories
- Manuals Home
- Hyundai Palisade Owners Manual
- Hyundai Palisade Service Manual
- Rain Sensor
- Troubleshooting
- How to reset the power liftgate
- New on site
- Most important about car
