Hyundai Palisade (LX2): Lighting System / Rheostat
Components and components location
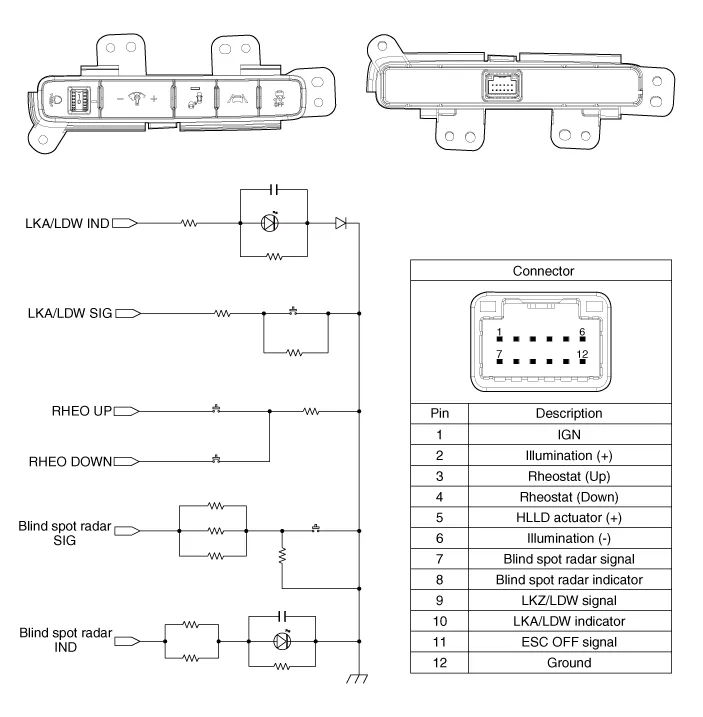
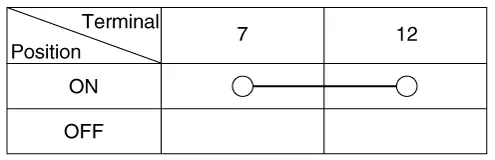
| Components |
Repair procedures
| Inspection |
| 1. |
Disconnect the negative (-) battery terminal.
|
| 2. |
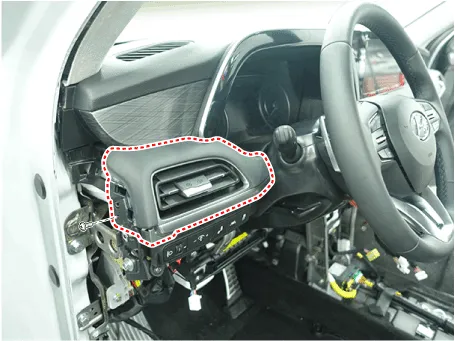
Remove the crash pad lower panel.
(Refer to Body - "Crash Pad Lower Panel")
|
| 3. |
Remove the left side air vent duct.
|
| 4. |
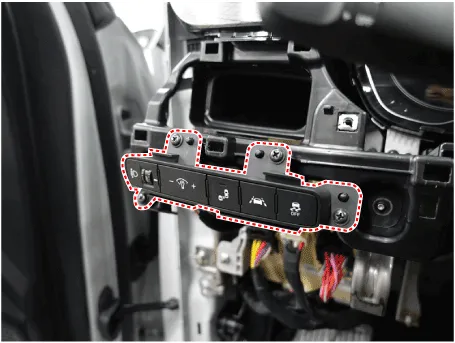
Remove the switch assembly after loosening mounting screws.
|
| 5. |
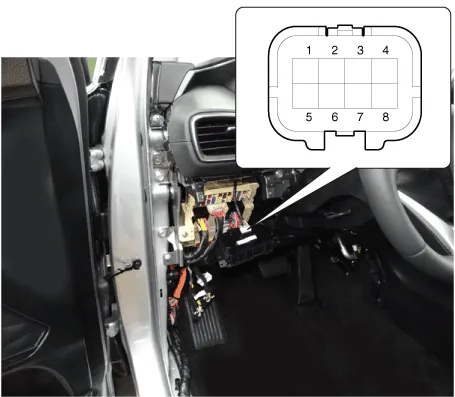
Remove the rheostat switch connector.
|
| 6. |
Check for intensity of new rheostat switch. If the light intensity of
the lamps changes smoothly without any flickering when the rheostat
is turned, it can be assumed that the rheostat is normal.
|
Repair procedures Removal 1. Disconnct the negative (-) battery terminal. 2. Remove the audio/AVN keyboard assembly.
Repair procedures Removal 1. Disconnect the negative (-) battery terminal. 2. Remove the license lamp lens from the panel after loosening a screw.
Other information:
Hyundai Palisade (LX2) 2020-2026 Service Manual: Wireless Charging Lamp
Components and positions Components Repair procedures Removal Handling wireless charging system parts by wet hands may cause electric shock.
Hyundai Palisade (LX2) 2020-2026 Service Manual: Description and operation
Description The smart cruise control system allows a driver to program the vehicle to control the speed and following distance by detecting the vehicle ahead without depressing the brake pedal or the accelerator pedal. 1.
Categories
- Manuals Home
- Hyundai Palisade Owners Manual
- Hyundai Palisade Service Manual
- Automatic Transaxle System (A8LF1)
- Scheduled maintenance services
- Engine Mechanical System
- New on site
- Most important about car
