Hyundai Palisade (LX2): Coupling Assembly / Oil hydraulic Motor(Actuator)
Description and operation
| Description |
Schematic diagrams
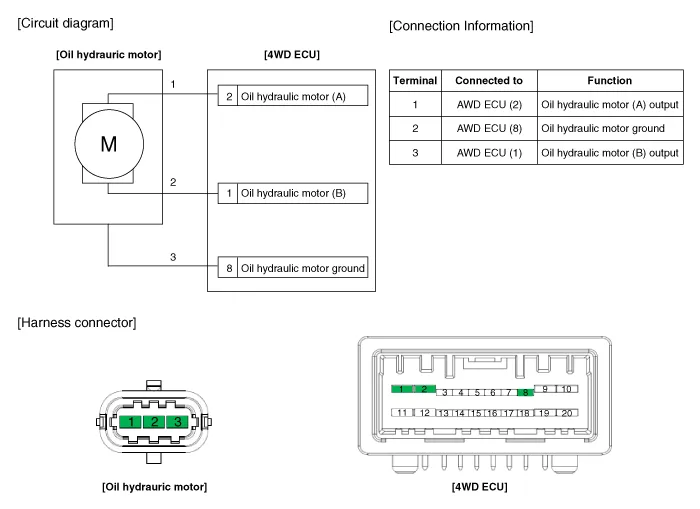
| Circuit Diagram |
Repair procedures
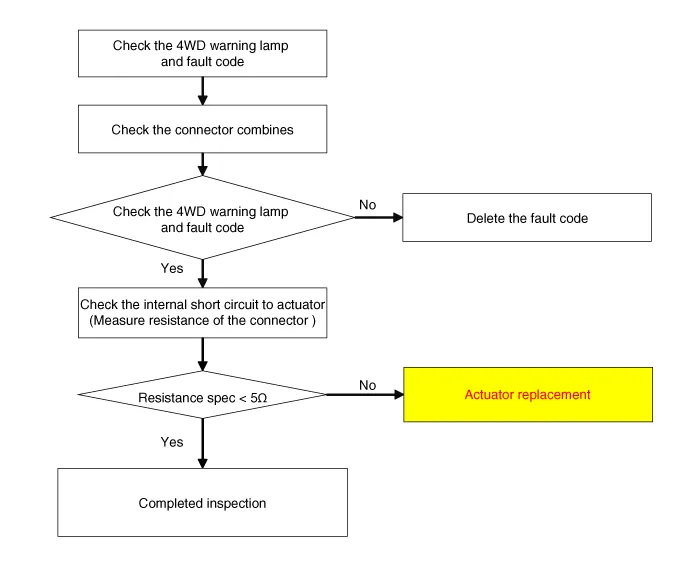
| Inspection |
|

| Oil Hydraulic Motor (Actuator) Inspection Procedure |
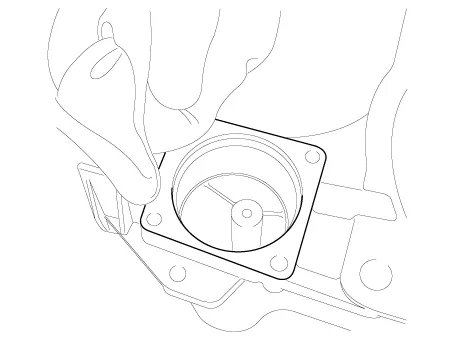
| Removal |
| 1. |
Remove the coupling assembly.
(Refer to 4 Wheel Drive (AWD) System - "Coupling Assembly")
|
| 2. |
Keep going perpendicular state after remove the coupling assembly.
|


| 3. |
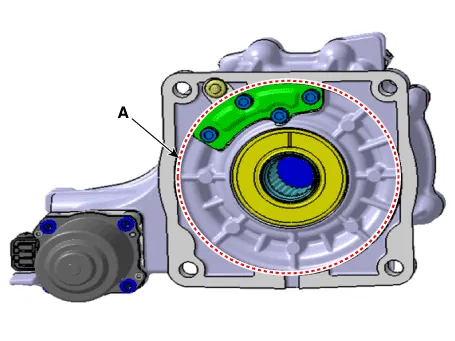
Remove the hydraulic motor (A) after loosening bolts with hex wrench.
|


| Installation |
| 1. |
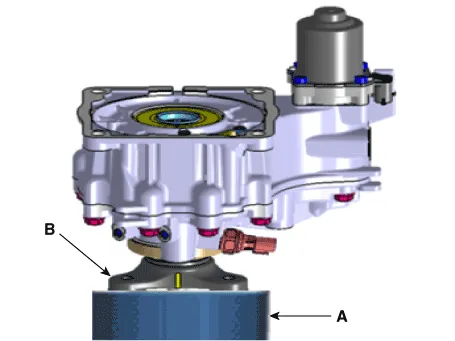
Before installation, wipe the surface with a clean cloth.
|
| 2. |
Check the O-rings (A) of the new hydraulic motor (actuators).
|
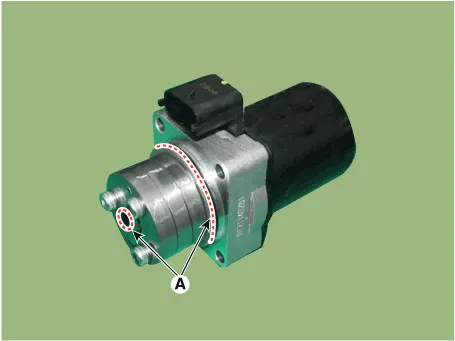

| 3. |
Tighten the bolts after install the hydraulic motor.
|

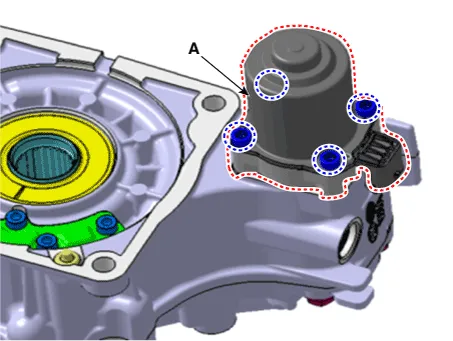

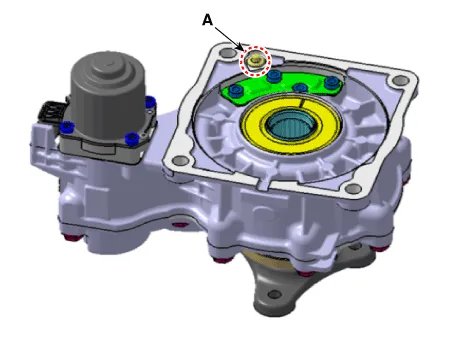
| 4. |
Wipe the flowed oil to around the surface (A) with a clean cloth.
|
| 5. |
Install the coupling assembly.
(Refer to 4 Wheel Drive (AWD) System - "Coupling Assembly")
|
Components and components location Component Location 1. Trasaxle assembly 2. Transfer assembly 3. Propeller shaft assembly 4.
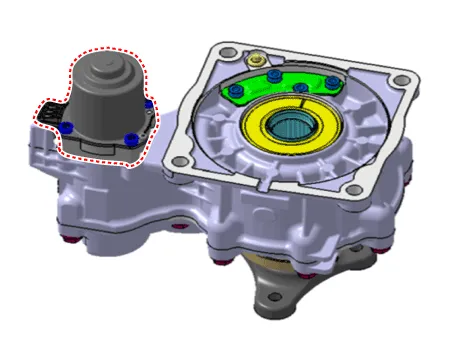
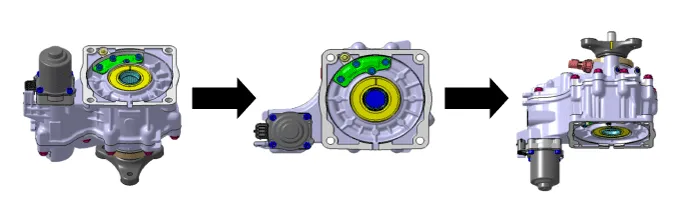
Description and operation Description The AWD ECU makes a Motor Pump(Actuator) turn round for generating an oil pressure. And then it presses a multiple disk clutch and transfers the generated torque into rear wheels.
Other information:
Hyundai Palisade (LX2) 2020-2026 Service Manual: Auto Defogging Sensor
Description and operation Description The auto defogging sensor is installed on the front window glass. The sensor judges and sends signal if moisture occurs to blow out wind for defogging. The air conditioner control module receives signal from the sensor and restrains moisture and eliminate defog by controlling the intak
Hyundai Palisade (LX2) 2020-2026 Service Manual: Components and components location
Categories
- Manuals Home
- Hyundai Palisade Owners Manual
- Hyundai Palisade Service Manual
- Scheduled maintenance services
- Body (Interior and Exterior)
- Rain Sensor
- New on site
- Most important about car
