Hyundai Palisade (LX2): Air conditioning System / Auto Defogging Sensor
Description and operation
| Description |
Repair procedures
| Inspection |
| Replacement |
|

| 1. |
Disconnect the negative (-) battery terminal.
|
| 2. |
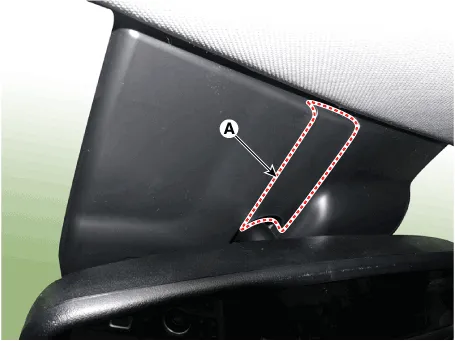
Remove the rain sensor inner cover (A).
|
| 3. |
Remove the rain sensor cover (A).
|

| 4. |
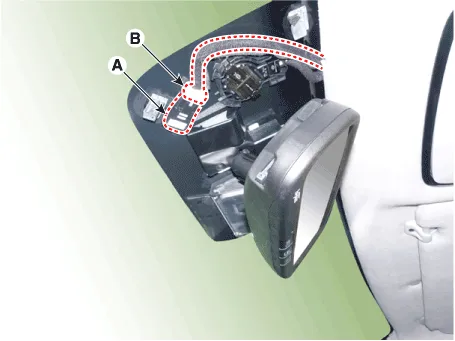
Separate the auto defogging sensor connector (B) and remove the auto
defogging sensor (A).
|
| 5. |
Install in the reverse order of removal.
|

Description and operation Description The ambient temperature sensor is located at the front of the condenser and detects ambient air temperature.
Description and operation Description The cluster ionizer makes disinfection and decomposition of bad smell from the air-conditioner or inflow air.
Other information:
Hyundai Palisade (LX2) 2020-2026 Service Manual: Description and operation
Description and Operation Blcok Diagram • This system monitors the driving situations through the radar and the camera. Thus, for a situation out of the sensing range, the system may not normally operate.
Hyundai Palisade (LX2) 2020-2026 Service Manual: Description and operation
Description Rear view camera will activate when the backup light is ON with the ignition switch ON and the shift lever in the R position. This system is a supplemental system that shows behind the vehicle through the AV monitor or the ECM (Reverse Display Room Mirror) mirror while backing-up.
Categories
- Manuals Home
- Hyundai Palisade Owners Manual
- Hyundai Palisade Service Manual
- Components and components location
- Automatic Transaxle Fluid (ATF)
- Resetting the Driver's Seat Memory System
- New on site
- Most important about car
