Hyundai Palisade (LX2): Audio / Speakers
Repair procedures
| Inspection |
| 1. |
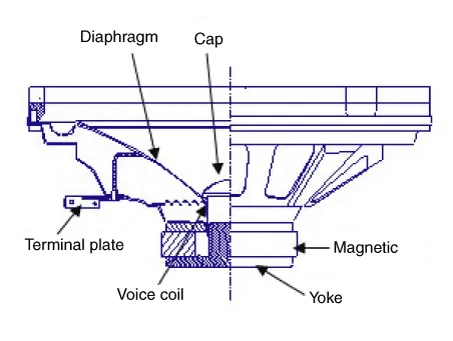
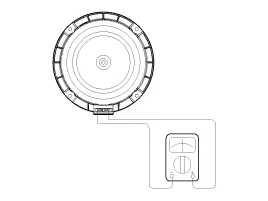
Troubleshooting for Speaker
|
| Removal |
| 1. |
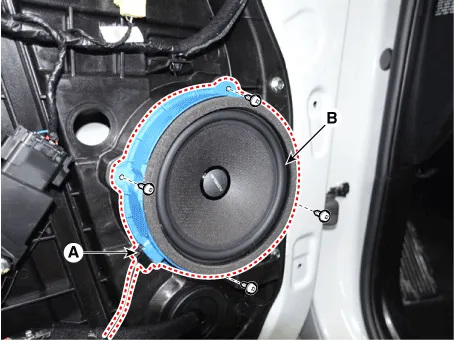
Remove the front door trim.
(Refer to Body - "Front Door Trim")
|
| 2. |
Disconnect the speaker connector (A).
|
| 3. |
Remove the front speaker (B) after loosening the screws.
|
| 1. |
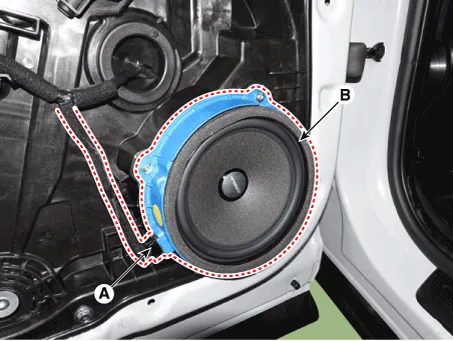
Remove the rear door trim.
(Refer to Body - "Rear Door Trim")
|
| 2. |
Disconnect the speaker connector (A).
|
| 3. |
Remove the rear speaker (B) after loosening the screws.
|
| 1. |
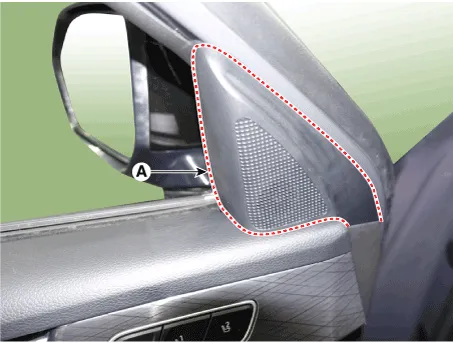
Using a screwdriver or remover, remove the front door quadrant inner
cover (A).
|
| 2. |
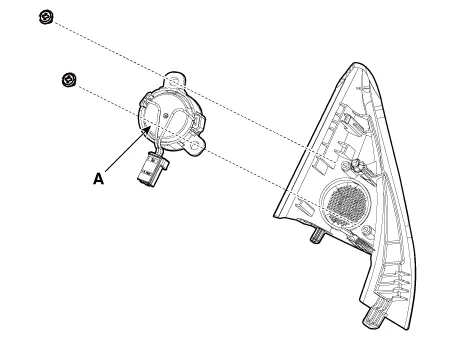
Loosen mounting screws and then Remove the tweeter speaker (A) by disconnecting
the speaker connector.
|
| Installation |
| 1. |
Install the front speaker.
|
| 2. |
Install the front door trim.
|
| 1. |
Install the rear speaker.
|
| 2. |
Install the rear door trim.
|
| 1. |
Connect the connector.
|
| 2. |
Install the tweeter speaker and quadrant inner cover.
|
Components and components location Components Connector Pin Information No Connector A Connector B 1 Rear left speaker (+) - 2 Rear left speaker (-) Mic (+) 3 - - 4 - - 5 - Antenna power 6 Camera _Power Illumination (+) 7 Camera_ Video MM CAN High 8 - - 9 - - 10 - Battery (+) 11 DTC Battery (+) 12 Steering wheel remote Ground 13 Front left speaker (+) Ground 14 Front left speaker (-) - 15 Front right speaker (-) Mic (+) 16 Front right speaker (+) - 17 - - 18 - - 19 - Illumination (-) 20 Camera power_Ground MM CAN Low 21 Camera video_Ground - 22 - ACC 23 - - 24 - - 25 - - 26 Steering wheel remote ground - 27 Rear right speaker (-) - 28 Rear right speaker (+) - 29 - - 30 - - 31 - - 32 - Ignition 33 Camera shield _Ground - 34 - - 35 - - 36 - 37 - 38 - 39 Speed Repair procedures Removal 1.
Components and components location Components Repair procedures Removal 1. Remove the roof trim assembly.
Other information:
Hyundai Palisade (LX2) 2020-2026 Service Manual: Ambient Temperature Sensor
Description and operation Description The ambient temperature sensor is located at the front of the condenser and detects ambient air temperature. It is a negative type thermistor; resistance will increase with lower temperature, and decrease with higher temperature.
Hyundai Palisade (LX2) 2020-2026 Service Manual: Components and components location
Categories
- Manuals Home
- Hyundai Palisade Owners Manual
- Hyundai Palisade Service Manual
- Electrochromatic Mirror (ECM) with homelink system
- Power Outlet
- Body (Interior and Exterior)
- New on site
- Most important about car

