
Hyundai Palisade (LX2): Power Door Locks / Power Door Lock Switch
Repair procedures
| Diagnosis with Diagnostic tool |
| 1. |
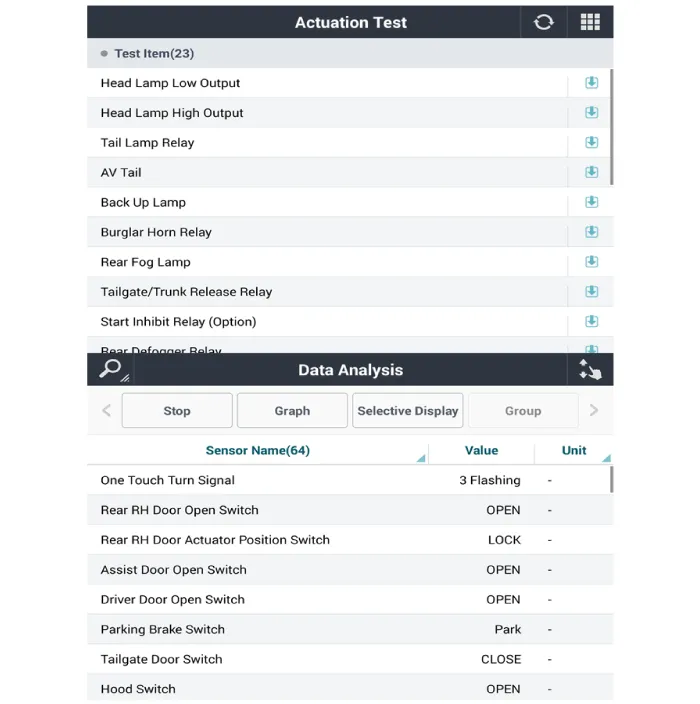
In the body electrical system, failure can be quickly diagnosed by using
the vehicle diagnostic system (Diagnostic tool).
The diagnostic system (Diagnostic tool) provides the following information.
|
| 2. |
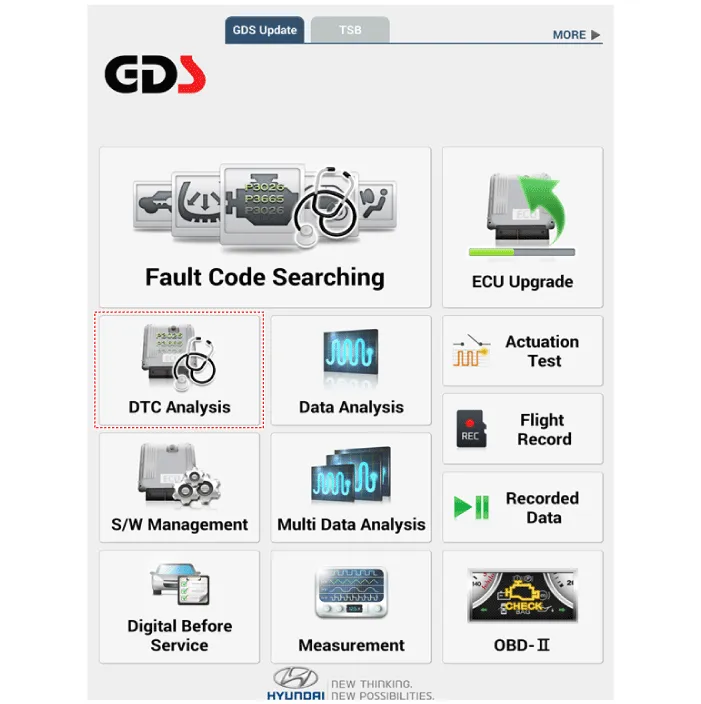
If diagnose the vehicle by Diagnostic tool, select "DTC Analysis" and
"Vehicle".
|
| 3. |
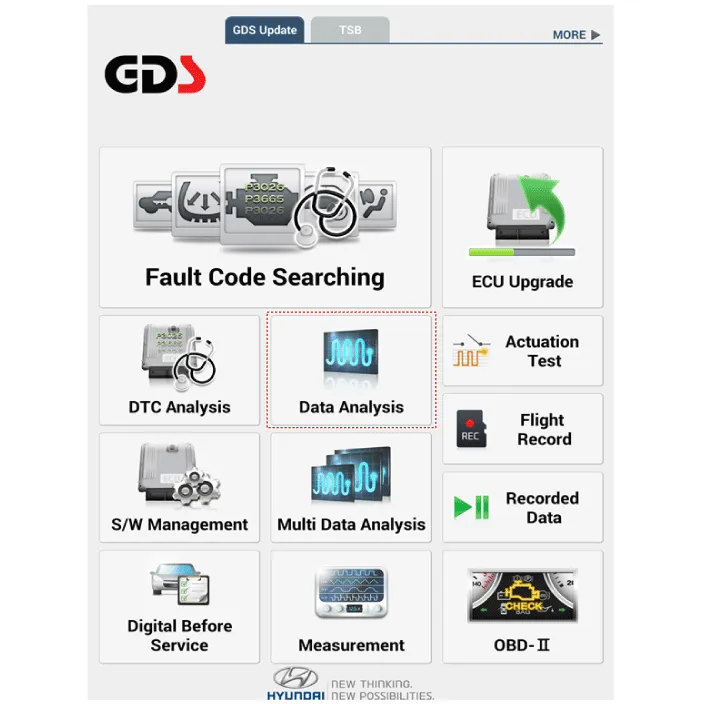
If check current status, select the "Data Analysis" and "Car model".
|
| 4. |
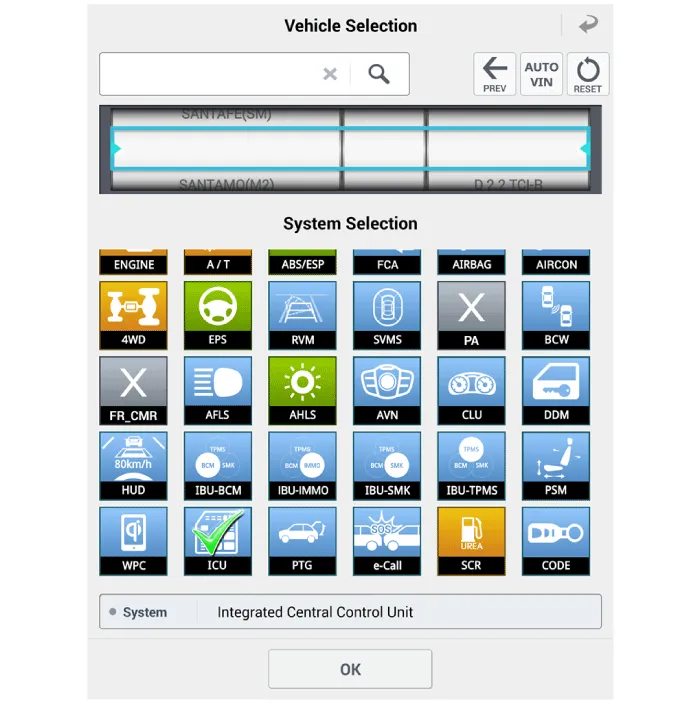
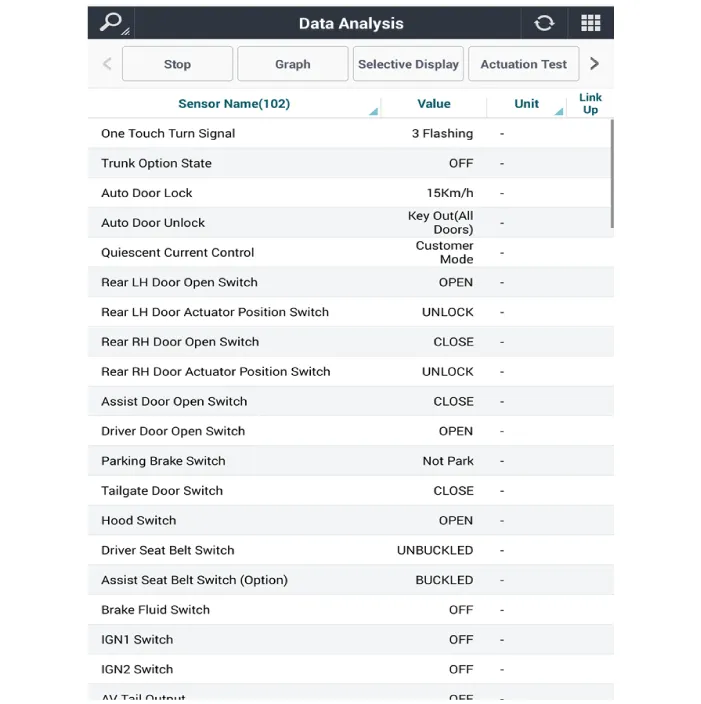
Select the 'ICU' to search the current state of the input/output data.
|
| 5. |
To forcibly actuate the input value of the module to be checked, select
option 'Actuation Test'.
|
| Removal |
| 1. |
Disconnect the negative (-) battery terminal.
|
| 2. |
Remove the front door trim.
(Refer to Body - "Front Door Trim")
|
| 3. |
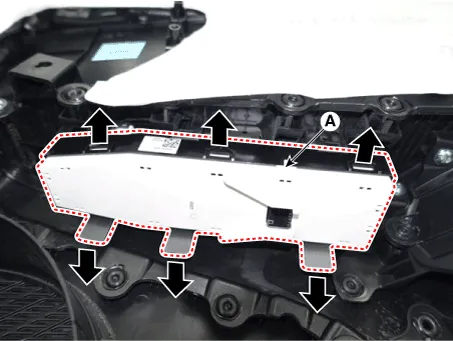
Disengage the mounting clip and then remove the door rock switch assembly
(A).
|
| Installation |
| 1. |
Install the door lock switch assembly.
|
| 2. |
Install the front door trim after connecting the connector.
|
Repair procedures Inspection Front Door Lock Module Inspection 1. Remove the front door trim. (Refer to Body - "Front Door Trim") 2.
Other information:
Hyundai Palisade (LX2) 2020-2026 Service Manual: Rear Corner Radar Unit
Specifications Specifications [BCW, BCA] Items Blind-Spot Collision Warning (BCW) Blind-Spot Collision- Avoidance Assist (BCA) Rated voltage DC 12V Operating voltage 9V - 16V Operating speed 30 km/h
Hyundai Palisade (LX2) 2020-2026 Service Manual: Description and operation
Description Rear view camera will activate when the backup light is ON with the ignition switch ON and the shift lever in the R position. This system is a supplemental system that shows behind the vehicle through the AV monitor or the ECM (Reverse Display Room Mirror) mirror while backing-up.
Categories
- Manuals Home
- Hyundai Palisade Owners Manual
- Hyundai Palisade Service Manual
- Removing and Storing the Spare Tire
- Components and components location
- Brake bleeding procedures
- New on site
- Most important about car
